A manual dirt bike offers an exhilarating experience, combining physical control with mental focus. Mastering its clutch and gears unlocks thrilling off-road adventures for riders of all skill levels.
1.1 What is a Manual Dirt Bike?
A manual dirt bike is an off-road motorcycle equipped with a manual transmission system, requiring riders to use a clutch and gear lever to control speed and torque. It offers precise control over power delivery, making it ideal for both beginners and experienced riders seeking adventure on various terrains.
1.2 Benefits of Learning to Ride a Manual Dirt Bike
Mastering a manual dirt bike enhances control, coordination, and confidence. It provides a deeper connection with the bike, allowing riders to navigate challenging terrains more effectively. The sense of accomplishment and thrill of off-road adventures make the effort worthwhile, creating a rewarding experience for enthusiasts of all skill levels.

Understanding the Clutch Mechanism
The clutch is a vital component that engages and disengages the engine from the transmission, enabling smooth gear shifts and precise control over the bike’s power delivery.
2.1 How the Clutch Works
The clutch connects and disconnects the engine from the transmission, allowing riders to shift gears smoothly. It operates via a lever on the handlebar, linked by a cable or hydraulic system, enabling precise control over power delivery during acceleration and deceleration.
2.2 The Friction Zone: Key to Smooth Riding
The friction zone is the point where the clutch begins to engage, transferring power to the transmission. Mastering this subtle transition is essential for smooth starts and gear changes, preventing jerks or stalls. Practice slow releases while applying gentle throttle to refine your control and ensure seamless acceleration.
2.3 Feathering the Clutch for Controlled Power
Feathering the clutch involves partially engaging it to deliver controlled power, especially in challenging terrain. By lightly holding the lever, you modulate engine power to the wheels, maintaining traction and balance on steep inclines or slippery surfaces. This technique enhances stability and prevents wheel spin, allowing for precise control in demanding conditions.
Mastering the Gears
Mastering the gears is essential for controlling speed and power on a manual dirt bike. With 4 to 6 speeds, riders can adapt to various terrains, ensuring smooth transitions for optimal performance.
3.1 How Gears Work in a Dirt Bike

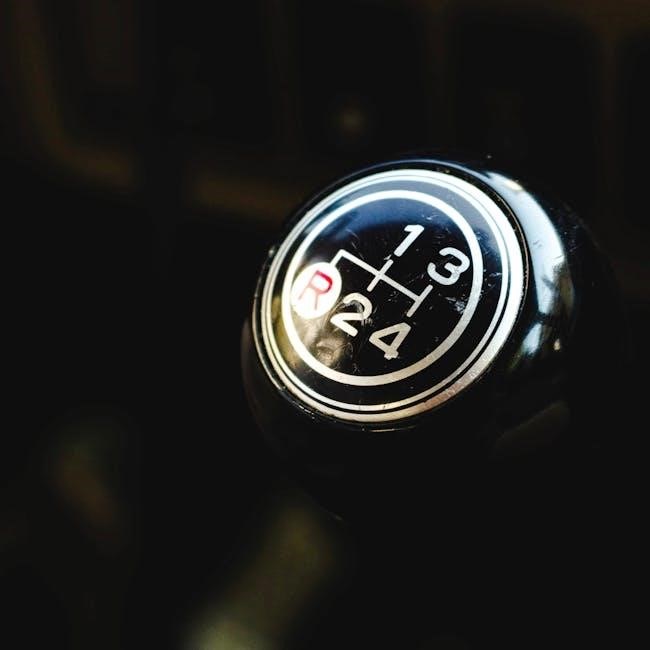
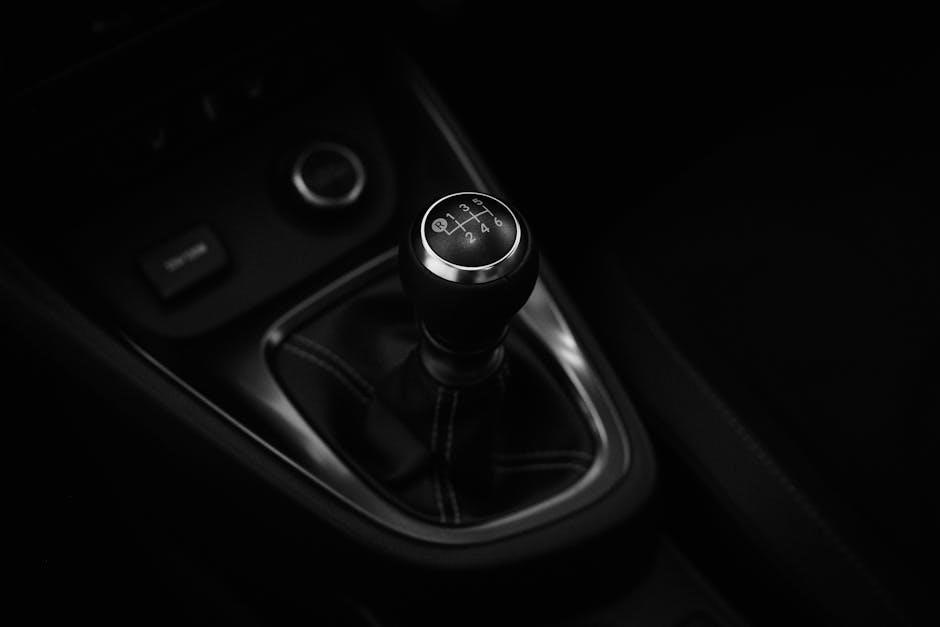
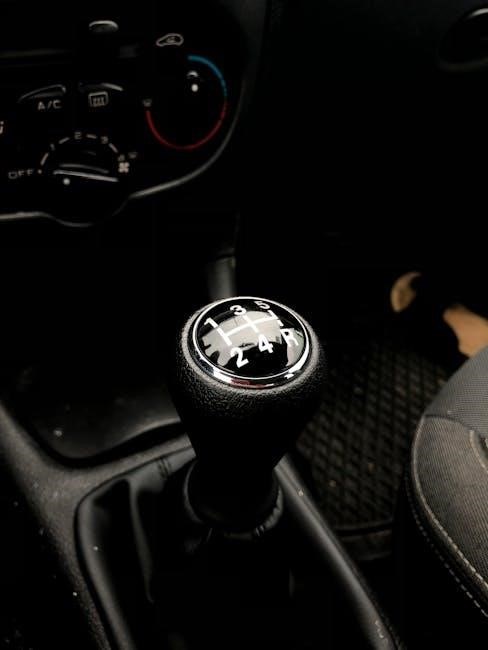
Dirt bikes typically feature 4 to 6 sequential gears, allowing riders to adjust speed and torque for varying terrain. The gear system is manually controlled via a foot lever, enabling smooth transitions between gears to optimize performance and control during off-road adventures.
3.2 Shifting Techniques: Power Shifting and More
Power shifting involves rapid gear changes without fully disengaging the clutch, maintaining momentum. This technique minimizes power loss, ideal for high-speed sections. Proper shifting requires coordinating clutch control, throttle input, and gear selection, enhancing speed and stability while riding. Practice ensures smooth transitions and efficient power delivery.
3.3 The Importance of Neutral Gear
Neutral gear is essential for starting and stopping, preventing the bike from lurching unexpectedly. It allows the rider to disengage the engine from the transmission, providing control and safety. Always use neutral when starting or stopping to avoid stalling and ensure a smooth, controlled riding experience.
Starting and Stopping the Bike
Mastering smooth starts and stops enhances control and safety. Use the clutch and brake levers effectively, ensure the bike is on flat ground, and remain stationary while stopping.
4.1 Preparing the Bike to Start
Ensure the bike is on flat ground, engage the brake, and pull in the clutch lever. Check the fuel level and ensure all controls are free from obstructions. This setup ensures a safe and controlled start, minimizing risks of accidental movement or stalling;
4.2 Starting the Engine and Initial Checks
Pull in the clutch, ensure the bike is in neutral, and use the kickstarter to start the engine. Allow the bike to warm up briefly. Check for any unusual noises, leaks, or issues with controls. This ensures the bike is ready for a safe and smooth ride.
4.3 Coming to a Stop Safely
To stop safely, pull in the clutch and downshift gradually before applying the brakes. Use both brakes evenly, with more emphasis on the rear brake. Maintain balance, keep your weight centered, and avoid sudden movements. Come to a complete stop before turning or restarting.
Safety Tips for Manual Dirt Bike Riding
Always wear protective gear, including a helmet, boots, and gloves. Conduct pre-ride inspections and follow safety protocols to minimize risks and ensure a secure riding experience.
5.1 Essential Safety Gear
Wear a helmet, protective clothing, and sturdy boots for optimal protection. Gloves enhance grip, while goggles shield eyes from debris. These essentials minimize injury risks, ensuring safer rides and peace of mind while mastering manual dirt bike techniques.
5.2 Pre-Ride Checks and Maintenance
Always inspect brakes, tires, and controls before riding. Check oil levels, chain tension, and ensure proper bike setup. Regular maintenance, like cleaning filters and lubricating chains, prevents mechanical issues. A well-maintained bike ensures reliability and optimal performance, keeping you safe and ready for adventure.
5.3 Handling Emergencies and Stalls
Stay calm during emergencies. If the bike stalls, pull in the clutch and restart the engine. Use brakes gently to maintain control. Avoid sudden movements and keep your weight centered. Practice restarting techniques to build confidence and ensure safe recovery in challenging situations. Regular practice helps refine emergency handling skills.
Turning Techniques
Mastering turning techniques on a manual dirt bike requires precise body positioning and smooth throttle control. Lean into turns, keep weight centered, and practice to build confidence. Essential for both speed and safety.
6.1 Body Positioning for Effective Turns
- Proper body positioning is crucial for effective turning on a manual dirt bike.
- Lean your body in the direction of the turn, keeping your weight centered over the bike.
- Look where you want to go to maintain focus and balance.
- Adjust your stance by shifting your knees and arms to optimize control.
- Practice smooth transitions to improve stability and confidence in various terrains.
6.2 Throttle and Brake Control During Turns
- Gradually apply the throttle to maintain traction and control during turns.
- Use the brakes before entering a turn to reduce speed, ensuring smoother cornering.
- Coordinate throttle and brake inputs to balance the bike and maintain stability.
- Practice modulation of these controls to enhance precision and confidence in turns.
6.3 Advanced Turning Strategies
- Advanced turning involves precise body positioning and weight distribution to enhance control.
- Shift your weight forward for tighter turns and backward for stability at higher speeds.
- Look where you want to go, as your bike naturally follows your gaze.
- Use rake and trail to your advantage for smoother cornering.
- Practice counter-steering for sharp turns by applying subtle pressure on the handlebars.
- Mastering these techniques requires consistent practice and a focus on balance;
Common Mistakes to Avoid
Over-relying on the front brake can cause skidding, while neglecting to adjust for terrain leads to poor traction. Ignoring tire pressure and forgetting to warm up the engine are also costly oversights for manual dirt bike riders.
7.1 Overusing the Clutch
Overusing the clutch can lead to excessive wear on the clutch plates and premature damage. Riders often pull the clutch too frequently or hold it partially engaged, causing unnecessary strain. Smooth, controlled clutch use enhances performance and prolongs component life, making it a critical skill to master for manual dirt bike enthusiasts.

7.2 Incorrect Gear Shifting
Incorrect gear shifting can lead to stalling, loss of control, or damage to the transmission. Shifting too aggressively or at the wrong speed disrupts power delivery, causing jerky movements. Riders should practice smooth, deliberate shifts, using the clutch fully and coordinating with throttle input for seamless transitions and optimal bike performance.
7.3 Ignoring Safety Protocols
Ignoring safety protocols significantly increases the risk of severe, life-threatening injuries and bike damage. Failing to wear essential protective gear, such as helmets, gloves, and boots, exposes riders to unnecessary dangers. Neglecting pre-ride checks can lead to mechanical failures, causing avoidable accidents. Always adhere to safety guidelines to ensure a safe and enjoyable riding experience.

Essential Gear for Dirt Bike Riding
Essential dirt bike gear includes helmets, gloves, boots, and goggles, providing critical protection and safety for riders during off-road adventures and minimizing injury risks effectively.
8.1 Helmets and Protective Clothing
A helmet is the most critical safety gear, protecting the head from impact. Durable jerseys, pants, and gloves provide abrasion resistance; Invest in gear meeting safety standards like DOT or ECE. Proper fit ensures mobility and comfort, balancing protection with affordability for off-road adventures. Always prioritize quality materials for enhanced safety.
8.2 Boots and Gloves
Sturdy boots with ankle support are essential for protection and control. Gloves provide grip, preventing blisters and improving handlebar feel. Invest in high-quality, durable options that balance cost and protection. Proper fit ensures comfort and mobility, enhancing your riding experience while safeguarding against injuries.
8.3 Goggles and Additional Safety Accessories
Goggles protect eyes from debris and dust, with anti-fog lenses enhancing visibility. A face mask or neck roll adds extra protection, while knee braces and elbow guards reduce injury risk. These accessories are vital for safeguarding riders during off-road adventures, ensuring comfort and durability in challenging terrain conditions.
Popular Dirt Bike Trails and Tracks
Popular dirt bike trails include Utah’s Sand Hollow, California’s Glamis Dunes, and Georgia’s Durhamtown Plantation. These destinations offer diverse terrains, from sandy dunes to muddy tracks, catering to all skill levels for exciting off-road adventures.
9.1 Finding the Best Trails for Your Skill Level
Finding the best trails for your skill level involves researching areas with suitable difficulty. Beginners can start with smooth, wide paths, while experienced riders seek challenging terrains. Popular destinations like Sand Hollow, Glamis Dunes, and Durhamtown Plantation offer diverse trails, from sandy dunes to muddy tracks, ensuring a match for every rider’s ability.
9.2 Etiquette and Regulations on Public Trails
Respect other trail users, such as hikers and ATVs. Obtain necessary permits and adhere to noise restrictions. Stay on designated trails to protect the environment and avoid fines. Always carry a map and follow local regulations to ensure safe and responsible riding.
9.3 Recommended Destinations for Off-Road Adventures
Explore iconic trails like the Rocky Mountains for challenging terrains, Moab in Utah for unique landscapes, or the Pacific Northwest for lush forests. The Desert Southwest offers wide-open spaces perfect for high-speed runs. Each destination provides a unique off-road experience tailored to different skill levels and riding preferences.
Maintenance and Repair Basics
Regular maintenance ensures optimal performance and longevity. Check cables, brakes, and clutch for wear. Adjustments and lubrication keep components functioning smoothly, preventing unexpected issues during rides.
10.1 Routine Maintenance Checks
Regular maintenance is crucial for optimal dirt bike performance. Inspect tires, brakes, and controls for wear. Check oil levels and filters, ensuring cleanliness. Lubricate chain and pivot points. Verify proper function of clutch and gear systems. Addressing issues early prevents costly repairs and enhances safety during rides.
10.2 Basic Repairs Every Rider Should Know
Learn to replace oils, clean air filters, and tighten chains. Inspect brake pads and rotors for wear. Familiarize yourself with basic tools like a socket set and torque wrench. Understanding these repairs ensures safety and minimizes downtime. Know when to seek professional help for complex issues to avoid further damage.
10.3 When to Seek Professional Help
Consult a professional for complex issues like engine rebuilds, transmission repairs, or electrical system faults. If you’re unsure about a repair or lack the tools, seek expert assistance. Major damage or safety-critical components should always be handled by a qualified mechanic to ensure reliability and safety.
Practice and Continuous Improvement
Regular practice is essential for mastering a manual dirt bike. Dedicate time to refine skills, learn from mistakes, and stay motivated to progress and improve continuously.
11.1 Setting Up a Practice Routine
Establish a consistent practice schedule to improve manual dirt bike skills. Start with short sessions, focusing on clutch control and gear shifts. Incorporate drills like figure-eights and hill climbs to enhance balance and coordination. Track progress and gradually increase difficulty as confidence grows.
11.2 Learning from Mistakes
Embrace mistakes as part of the learning process. Analyze errors like stalling or improper gear shifts to identify root causes, such as clutch misuse or insufficient throttle. Apply corrections during practice to refine skills and build confidence. Persistence in addressing mistakes leads to steady improvement and mastery of manual dirt bike techniques.
11.3 Staying Motivated and Progressing Skills
Stay motivated by celebrating small victories and setting achievable goals. Reflect on progress, no matter how minor, to maintain enthusiasm. Surround yourself with experienced riders for inspiration and tips. Consistent practice and a positive mindset are key to advancing your manual dirt bike skills and enjoying the journey of improvement.