Welcome to the Realtree RT100 Mini Bike Manual, your essential guide for safe operation, assembly, and maintenance. This manual ensures proper use and optimal performance of your mini bike.
1.1 Overview of the Realtree RT100 Mini Bike
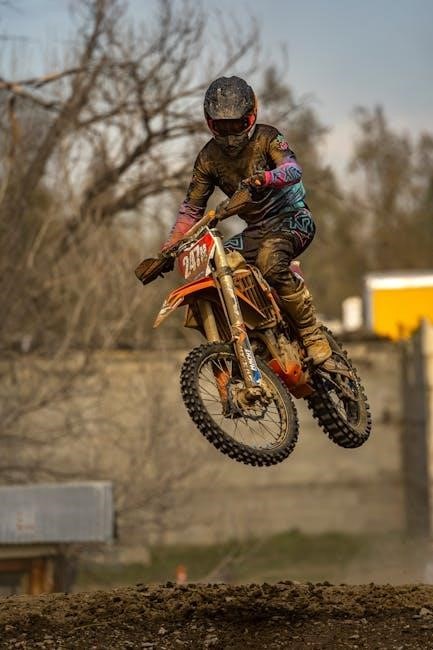
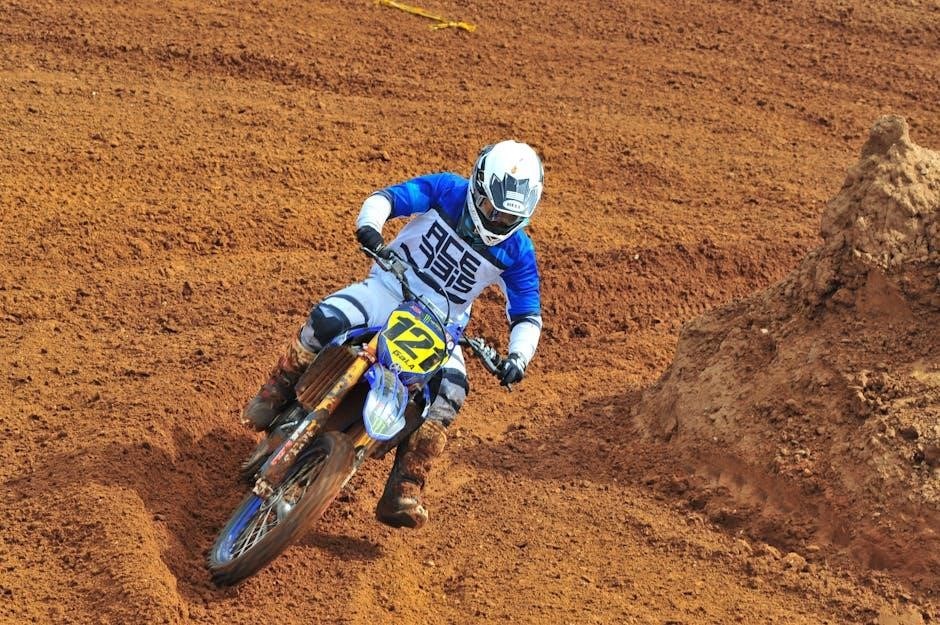
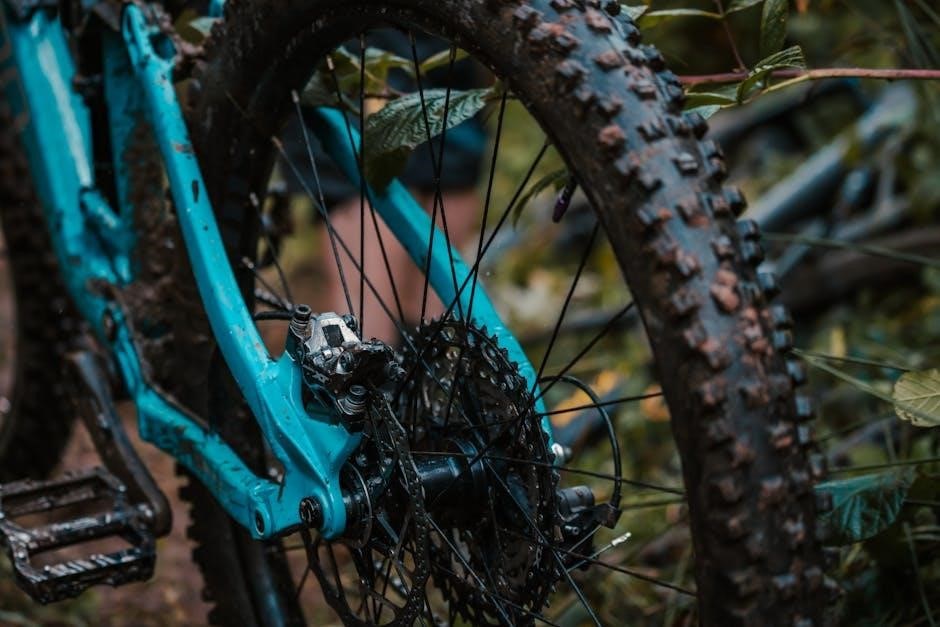
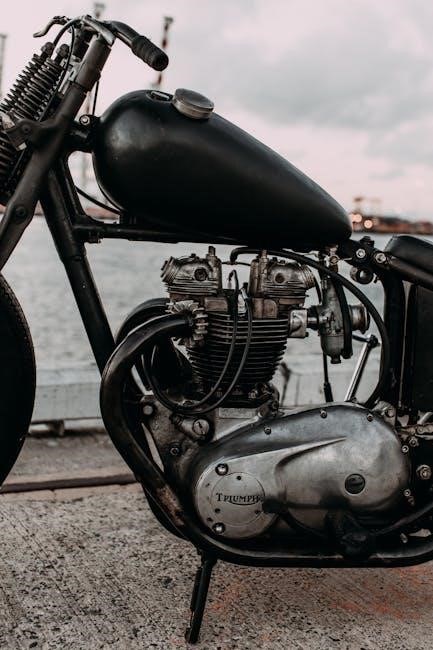
The Realtree RT100 Mini Bike is a 105cc gas-powered vehicle designed for off-road adventures. Featuring Realtree camouflage, it combines classic design with modern engineering. Its robust frame, reliable 2 HP OHV four-stroke engine, and efficient fuel consumption make it ideal for trail exploration. Built for durability and performance, it offers a fun and versatile riding experience while emphasizing safety and ease of use.
1.2 Importance of the Manual for Safe and Proper Use
The manual is crucial for ensuring safe operation and proper use of the Realtree RT100 Mini Bike. It provides detailed safety guidelines, operational instructions, and maintenance tips to prevent accidents and extend the bike’s lifespan. Reading and understanding the manual is essential for riders to familiarize themselves with the bike’s components, functions, and precautions, ensuring a safe and enjoyable riding experience.
Safety Guidelines and Precautions
Always follow safety guidelines and precautions outlined in the manual to ensure safe operation. Reading the manual thoroughly is critical to prevent accidents and injuries.
2.1 Essential Safety Information for Riders
Reading and understanding the manual is crucial for safe operation. Always wear proper safety gear, including a helmet and protective clothing. Ensure the bike is suitable for your age and skill level. Conduct pre-ride inspections to check for damage or wear. Avoid modifications that could compromise safety. Never ride under the influence of alcohol or drugs. Follow all local regulations and use caution in varying terrain conditions to minimize risks and ensure a safe riding experience.
2.2 Warning Labels and Critical Safety Instructions
Warning labels on the Realtree RT100 mini bike emphasize critical safety precautions to prevent accidents. Always read and follow instructions carefully. Avoid high-pressure washes that could damage the engine. Adhere to load capacity and age recommendations. Never modify the bike in ways that compromise safety. Regularly inspect warning labels for damage or wear, and ensure they remain legible. Your safety depends on strict compliance with these guidelines.
Assembly and Setup Instructions
Assemble your Realtree RT100 mini bike carefully using the provided tools. Follow the step-by-step guide to ensure all parts are securely fastened. Always prioritize safety.
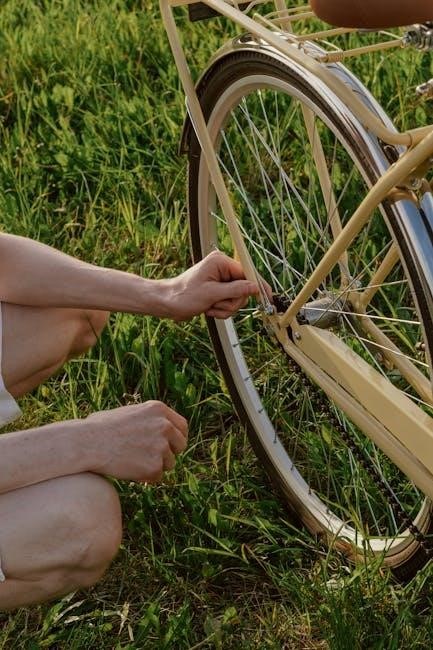
3.1 Step-by-Step Assembly Process
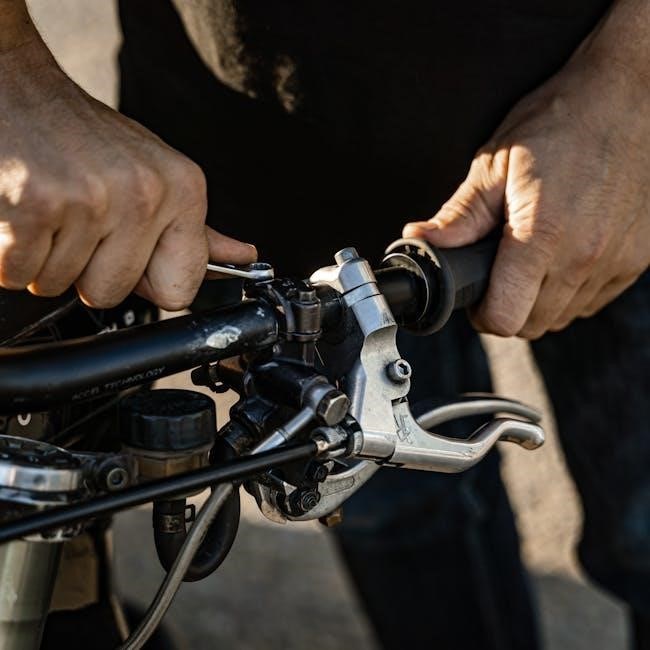
Begin by unpacking and verifying all components. Attach the handlebars, ensuring they are securely tightened. Next, install the front and rear wheels, making sure they are properly aligned. Connect the brake system carefully, following the manual’s instructions. Secure the seat and handlebar grips. Finally, perform a thorough inspection to ensure all parts are correctly assembled. Refer to the manual for detailed diagrams and safety reminders.
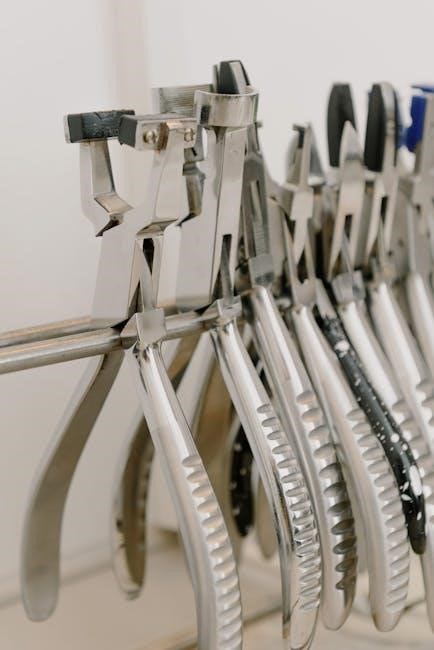
3.2 Tools and Equipment Required for Assembly
Essential tools include a wrench set, screwdrivers, pliers, and a torque wrench. Additional equipment like gloves and safety goggles are recommended for safe assembly. Ensure all components are unpacked and organized before starting. Refer to the manual for specific tool requirements and safety guidelines to avoid damage or injury during the assembly process of your Realtree RT100 mini bike.
Maintenance and Care Tips
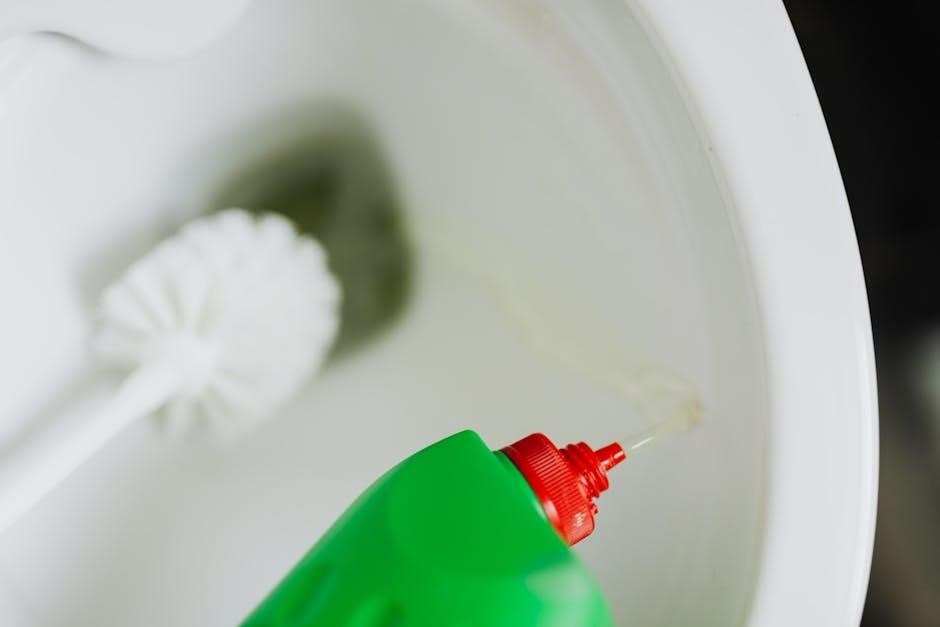
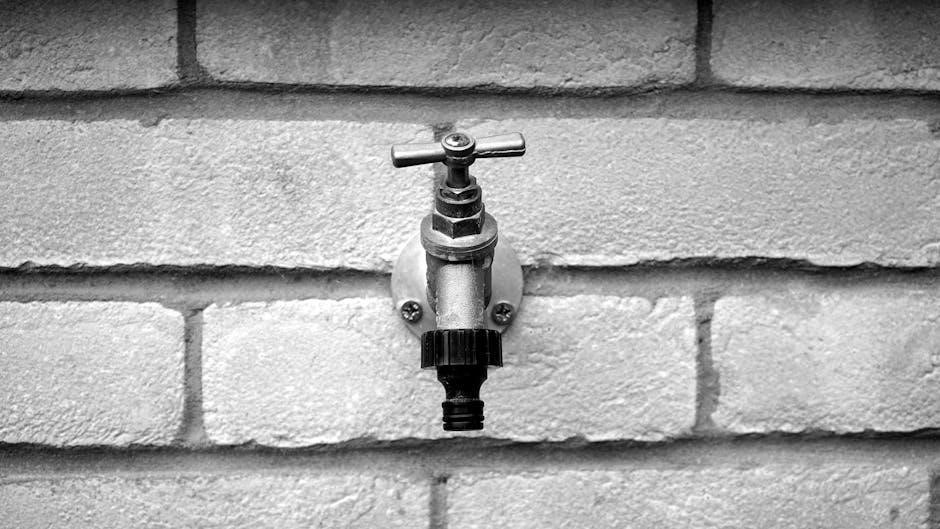
Regularly wash with low-pressure water and mild detergent. Check for wear and tear, and ensure all parts are secure. Keep the bike clean and dry to prevent damage.
4.1 Washing and Cleaning the Mini Bike
Wash the mini bike using low-pressure water and mild detergent. Avoid high-pressure nozzles to prevent water entering the engine. Use a soft sponge or brush to clean surfaces gently. Dry thoroughly after washing to prevent rust. Regular cleaning maintains appearance and functionality, ensuring optimal performance and longevity of your Realtree RT100 mini bike.
4.2 Regular Maintenance Checks and Schedule
Regular maintenance is crucial for optimal performance and safety. Check engine oil levels before each ride, inspect brakes weekly, and ensure tire pressure matches recommendations. Lubricate the chain monthly and inspect for wear. Schedule a detailed inspection every 50 hours of use, including air filter cleaning and spark plug checks. Adhere to this routine to ensure your Realtree RT100 mini bike runs safely and efficiently.
Troubleshooting Common Issues
Identify common issues like engine problems or poor performance by checking the air filter, spark plug, and oil levels. Regular checks prevent major repairs and ensure smooth operation.
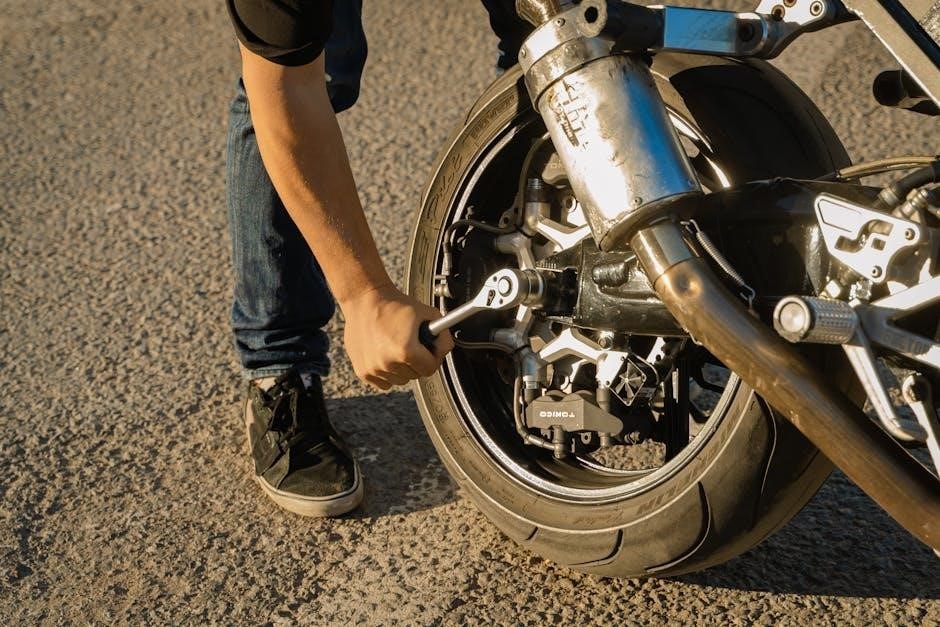
5.1 Identifying and Resolving Mechanical Problems
Common mechanical issues include engine trouble or poor performance. Check the air filter, spark plug, and oil levels. Clean or replace parts as needed. Refer to the troubleshooting section for detailed solutions. Addressing problems early prevents further damage. Always follow manual guidelines for repairs and maintenance to ensure optimal functionality and safety while riding.
5.2 Diagnostic Techniques for Optimal Performance

Regular inspections and diagnostic checks ensure the mini bike runs smoothly. Monitor engine performance, tire pressure, and brake function. Use tools to test spark plugs and verify proper fuel flow. Address unusual noises or vibrations promptly. Refer to the manual for detailed diagnostic steps to identify and resolve issues before they escalate, ensuring optimal performance and safety while riding.
Technical Specifications of the Realtree RT100
The Realtree RT100 features a 2 HP, OHV four-stroke 105cc engine, durable frame, and reliable performance. Dimensions and load capacity ensure stability and efficiency for all riders.
6.1 Engine Details and Performance Capabilities
The Realtree RT100 is powered by a reliable 105cc, OHV four-stroke engine, delivering 2 horsepower. Its efficient design ensures smooth operation, optimal fuel efficiency, and consistent power delivery. The engine is built for durability, providing long-lasting performance on various terrains. Regular maintenance ensures peak functionality, making it suitable for both recreational and light-duty use.
6.2 Dimensions, Weight, and Load Capacity
The Realtree RT100 features a compact, durable design with dimensions suited for easy handling and portability. It has a manageable weight, making it ideal for various riders. The mini bike is designed to support a maximum load capacity, ensuring stable performance and safety for riders of different sizes while maintaining its structural integrity and reliability.
Accessories and Customization Options
The Realtree RT100 offers a range of compatible accessories, such as camouflage decals, performance upgrades, and storage solutions, allowing riders to personalize their mini bike for enhanced functionality and style.
7.1 Compatible Parts and Accessories for the RT100
The Realtree RT100 supports various compatible parts, including throttle housings, wheel spacers, and axle bolts, ensuring optimal performance. Accessories like camouflage decals, storage solutions, and utility racks enhance functionality and personalization, allowing riders to customize their mini bike according to their preferences and needs for both style and practicality.
7.2 Customization Ideas to Enhance Functionality
Enhance your Realtree RT100’s functionality with customization options like adding storage racks, upgraded seats, or camouflage decals. Consider modifying the exhaust for improved performance or installing LED lights for better visibility. Custom handlebars and grips can improve comfort, while aftermarket tires optimize traction on various terrains, making your mini bike more versatile and tailored to your riding style.
Operating Instructions and Controls
Understand the Realtree RT100’s controls, including throttle, brakes, and gearshift, to ensure smooth operation. The manual provides detailed guidance for safe and effective riding practices always.
8.1 Understanding the Controls and Instruments
The Realtree RT100 mini bike features essential controls, including a throttle for speed adjustment, brakes for stopping, and a gearshift for changing gears. The instrument panel includes a speedometer, odometer, and warning lights for oil, battery, and overheating. Familiarize yourself with these components to ensure smooth and safe operation. Proper use of controls is critical for maintaining control and enjoying your ride.
8.2 Pre-Ride Inspection Checklist
Before each ride, inspect the Realtree RT100 mini bike to ensure safety and performance. Check tire pressure, brakes, chain tension, oil levels, and lights. Verify all controls function properly and there are no loose parts. Refer to the manual for specific guidelines to maintain your bike’s condition and ensure a safe riding experience. Regular inspections help prevent mechanical issues and enhance overall safety.

Warranty and Customer Support Information
Refer to the manual for warranty details and coverage specifics. Contact Coleman Powersports at 888-405-8725 for customer support and assistance with any inquiries or issues.
9.1 Warranty Details and Coverage
The Realtree RT100 Mini Bike is backed by a limited warranty covering defective parts and labor for one year from the date of purchase. This warranty applies to original owners only and does not extend to normal wear, misuse, or modifications. For full details and exclusions, refer to the manual or contact Coleman Powersports customer support at 888-405-8725 with any warranty-related inquiries.
9.2 Contact Information for Customer Service
For any inquiries, concerns, or warranty-related issues, contact Coleman Powersports customer service at 888-405-8725. Visit their official website or email support@colemanpowersports.com for assistance. Ensure to have your bike’s serial number ready for faster service. Refer to the manual or website for the most up-to-date contact information and support options.
Always prioritize safety and follow the manual for optimal performance. Regular maintenance ensures longevity. Enjoy your Realtree RT100 mini bike with confidence and responsibility.
10.1 Summary of Key Points
The Realtree RT100 mini bike manual emphasizes safety, proper assembly, and regular maintenance. Always follow guidelines for washing with low-pressure water and mild detergent. Avoid high-pressure nozzles to prevent engine damage. Regularly inspect tires, brakes, and chains. Adhere to load capacity and safety precautions. Troubleshoot issues promptly and refer to the manual for optimal performance. Safe riding practices ensure longevity and enjoyable experiences with your Realtree RT100 mini bike.
10.2 Encouragement for Safe and Enjoyable Riding
Always prioritize safety by following the manual’s guidelines and wearing protective gear. Conduct pre-ride inspections and adhere to weight limits for a smooth experience. Explore trails responsibly, respecting nature and others. Embrace the thrill of riding while maintaining caution. Regular maintenance ensures reliability and extends the life of your Realtree RT100, allowing you to enjoy countless adventures with confidence and joy.