The Honeywell installation manual serves as a comprehensive guide, ensuring seamless setup of Honeywell products․ It provides detailed instructions, troubleshooting tips, and essential information for optimal performance․ By following the manual, users can efficiently navigate through installation processes, configure settings, and integrate systems with ease․ This resource is crucial for both beginners and professionals, offering clear step-by-step directions to guarantee successful installations․

Overview of Honeywell Products and Their Installation Needs
Honeywell offers a wide range of products, including thermostats, security systems, and HVAC controls, each requiring specific installation procedures․ These products are designed to enhance home comfort, security, and energy efficiency․ Installation needs vary depending on the device, with some requiring wiring, network connectivity, or compatibility with existing systems․ For example, smart thermostats may need Wi-Fi setup, while security cameras require mounting and power supply․ The installation manual provides detailed guidance tailored to each product, ensuring proper setup and functionality․ Understanding these requirements is essential for a smooth installation process and optimal performance․ Compatibility with existing systems and adherence to safety standards are also crucial considerations․
Importance of Following the Installation Manual
Following the Honeywell installation manual is essential to ensure safety, correct installation, and optimal performance of the product․ The manual provides precise instructions tailored to each device, reducing the risk of errors and potential damage․ Proper installation guarantees that safety standards are met and that the system functions as intended․ Additionally, the manual includes troubleshooting tips to address common issues, saving time and effort․ Compliance with the manual also ensures adherence to manufacturer recommendations, which may be required for warranty validity․ By following the guidelines, users can avoid costly mistakes and ensure their Honeywell product operates efficiently and effectively․ This adherence is crucial for both user satisfaction and system longevity․
Pre-Installation Checklist
Ensure compatibility, verify power requirements, check site preparation, gather tools, and review safety precautions before starting the Honeywell installation process for optimal results and adherence to guidelines․
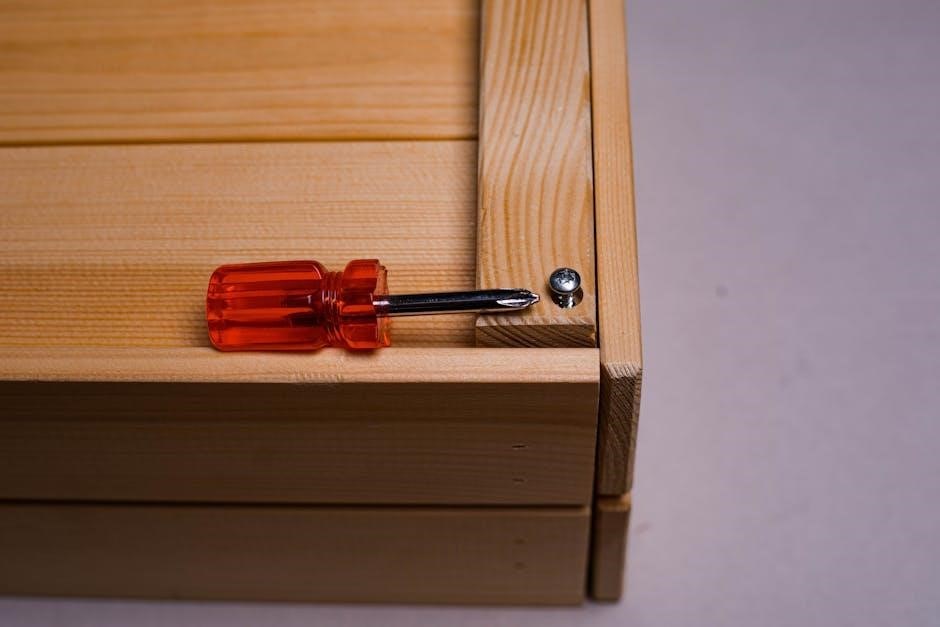
Tools and Materials Required for Honeywell Installation
To ensure a smooth installation process, gather essential tools and materials beforehand․ These include screwdrivers, wrenches, pliers, and drills for hardware setup․ Power tools like impact drivers and wire strippers may also be necessary for specific tasks․ Additionally, materials such as cables, connectors, and fasteners should be readily available․ Ensure all components are compatible with Honeywell products to avoid installation issues․ Refer to the manual for a detailed list of required tools and materials, as specifications may vary depending on the product․ Using approved materials guarantees compliance with safety standards and optimal performance․ Proper preparation saves time and minimizes potential errors during installation;

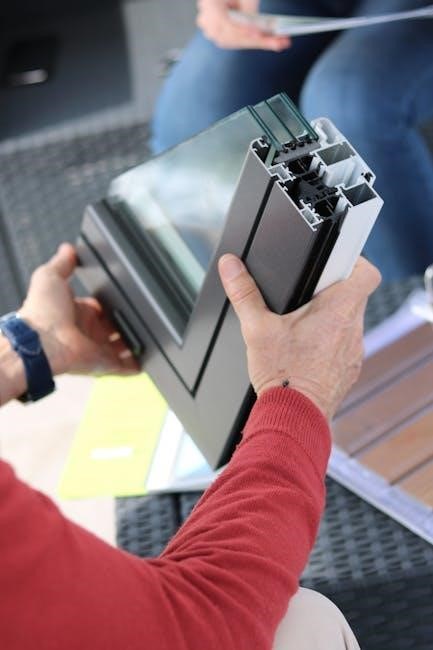
Understanding Compatibility with Existing Systems
Compatibility is crucial for integrating Honeywell products with existing systems․ Before installation, verify that Honeywell devices align with your current infrastructure, including hardware, software, and communication protocols․ Refer to the manual for compatibility charts and supported systems․ Ensure firmware and software versions are up-to-date to avoid conflicts․ Check for certifications and standards compliance, such as Zigbee or Z-Wave for smart home integration․ Testing compatibility beforehand prevents installation delays and ensures seamless functionality․ If uncertain, consult Honeywell’s official resources or contact support for clarification․ Proper compatibility ensures efficient performance and avoids potential system conflicts, making your setup more reliable and user-friendly․ This step is vital for a hassle-free installation experience․
Step-by-Step Installation Guide
The Honeywell installation manual provides a structured approach to setting up devices, ensuring clarity and ease․ Follow detailed instructions for hardware setup, software configuration, and system testing to guarantee proper functionality and performance․
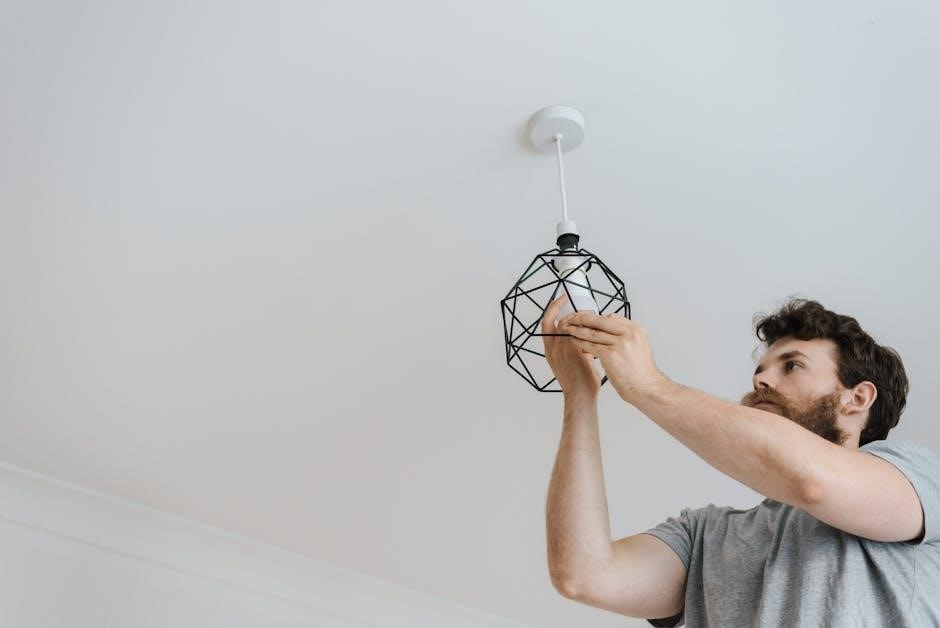
Hardware Installation Process
The hardware installation process for Honeywell devices involves several key steps․ First, gather all necessary tools and materials as outlined in the manual․ Begin by preparing the installation site, ensuring it is clean and accessible․ Next, carefully unpack and organize the components to avoid damage․ Mounting brackets or bases should be installed securely, following the manufacturer’s specifications․ Once the base is in place, attach the device, ensuring proper alignment and tightening of screws․ Connect all cables and wires, double-checking for correct polarity and connections․ Finally, power on the device and perform a quick test to ensure functionality․ Always follow safety guidelines and refer to the manual for troubleshooting any issues during installation․
Software Setup and Configuration
The software setup and configuration for Honeywell devices ensure seamless integration with your system․ Begin by downloading and installing the latest software from the official Honeywell website․ Follow the on-screen instructions to complete the installation process․ Once installed, launch the software and enter your system credentials to access the configuration menu․ Use the search bar to quickly locate specific settings or features․ Configure user preferences, such as passwords and access levels, to secure your system․ Ensure compatibility with existing smart home systems by selecting the appropriate integration options․ Refer to the manual for detailed guidance on advanced settings and troubleshooting common issues․ Proper configuration guarantees optimal performance and connectivity for your Honeywell devices․
Connecting Honeywell Devices to the Network
Connecting Honeywell devices to your network is a straightforward process that ensures optimal functionality․ Begin by powering on the device and locating the network connection options․ Use a wired Ethernet cable for a stable connection or switch to Wi-Fi mode for wireless setup․ Enter your network password to secure the connection; For Wi-Fi, select your network from the available list and follow the prompts․ Use the search bar in the configuration menu to quickly locate network settings․ Once connected, verify the status through the device’s software dashboard․ Ensure your network is compatible with Honeywell’s requirements for smooth operation․ Proper network integration enables remote access and seamless system control․
Configuring System Settings
Configuring system settings ensures Honeywell devices operate efficiently and meet user preferences․ Adjust temperature, security, and notification settings via the control panel or software interface for optimal performance․
Setting Up User Preferences and Security Features
Setting up user preferences and security features ensures a personalized and secure experience with Honeywell systems․ Begin by creating user profiles and assigning access levels to different individuals․ Set unique passwords and enable multi-factor authentication for enhanced security․ Customize notifications, alerts, and scheduling options to align with your lifestyle․ Enable features like biometric authentication or keypad entry for added protection․ Ensure all security protocols are activated, such as encryption for data transmission․ Regularly update system software to maintain the latest security patches․ Refer to the manual for step-by-step guidance on configuring these settings to ensure your Honeywell system operates securely and efficiently․
Integrating with Smart Home Systems
Integrating Honeywell devices with smart home systems enhances functionality and convenience․ Ensure compatibility by checking supported platforms like Samsung SmartThings or Amazon Alexa․ Connect Honeywell devices to your smart home hub via Wi-Fi or Zigbee․ Use the smart home app to discover and pair devices․ Once connected, control Honeywell products alongside other smart devices seamlessly․ Enable voice commands through Amazon Alexa or Google Assistant for hands-free operation․ Customize scenes and routines to automate interactions between Honeywell and other smart devices․ Refer to the manual for specific pairing instructions and troubleshooting tips․ This integration allows for a unified, efficient smart home experience․
Troubleshooting Common Issues
Troubleshooting Honeywell installations involves identifying errors and resolving them systematically․ Check connections, restart devices, and consult the manual for error code solutions․ This ensures efficient issue resolution and proper setup․

Diagnosing and Resolving Installation Errors
Diagnosing installation errors with Honeywell systems begins with identifying symptoms like error codes or connectivity issues․ Users should systematically check connections, power supplies, and configurations․ Referencing the manual’s troubleshooting section provides clear solutions for specific error codes․ If devices fail to connect, ensure compatibility and network settings are correct․ Restarting the system or resetting devices often resolves temporary glitches․ For complex issues, advanced diagnostic tools or contacting Honeywell support may be necessary․ Always follow the manual’s guidance to avoid further complications․ Regular checks and updates can prevent recurring errors, ensuring smooth operation․ Proper troubleshooting ensures installations are reliable and perform optimally․ Detailed steps in the manual help users resolve issues efficiently․
Maintenance and Upkeep
Regular maintenance ensures Honeywell systems operate efficiently․ Schedule periodic checks for updates, clean sensors, and inspect connections․ Follow the manual’s guidelines to prevent issues and ensure reliability․

Regular Checks to Ensure Optimal Performance
Regular maintenance is crucial for Honeywell systems to function effectively․ Perform quarterly inspections of filters, sensors, and connections to ensure they are clean and secure․ Check for software updates and install the latest firmware to enhance performance and security․ Clean dust from sensors and ensure proper ventilation to prevent overheating․ Test system responses to confirm functionality and adjust settings as needed․ Review performance logs to identify trends or potential issues early․ Inspect battery levels in wireless devices and replace them as required․ By following these checks, users can maintain system reliability, prevent malfunctions, and ensure optimal efficiency․ Refer to the manual for specific guidelines and schedules tailored to your Honeywell product․

Final Tips for a Successful Honeywell Installation
Double-check all connections and settings before finalizing the installation․ Ensure compatibility with existing systems to avoid conflicts․ Test each component thoroughly post-installation to confirm functionality․ Regularly update software and firmware for optimal performance․ Keep the manual handy for quick reference during troubleshooting․ Plan the installation process meticulously to avoid delays․ Use only genuine Honeywell parts to maintain system integrity․ Follow safety guidelines to prevent accidents․ Test the system under various conditions to identify potential issues early․ Document your setup for future maintenance or upgrades․ Always refer to the manual for specific configurations to ensure compliance with manufacturer recommendations․ Seek professional assistance if unsure about complex steps․ Properly label wires and components for easier future servicing․ Finally, conduct a full system test to ensure seamless operation․