The Mazda RX-8’s manual transmission delivers precise control and enhances driving dynamics‚ making it a favorite among enthusiasts. Proper maintenance and care are essential to ensure longevity.
1.1 Overview of the RX-8 and Its Transmission System
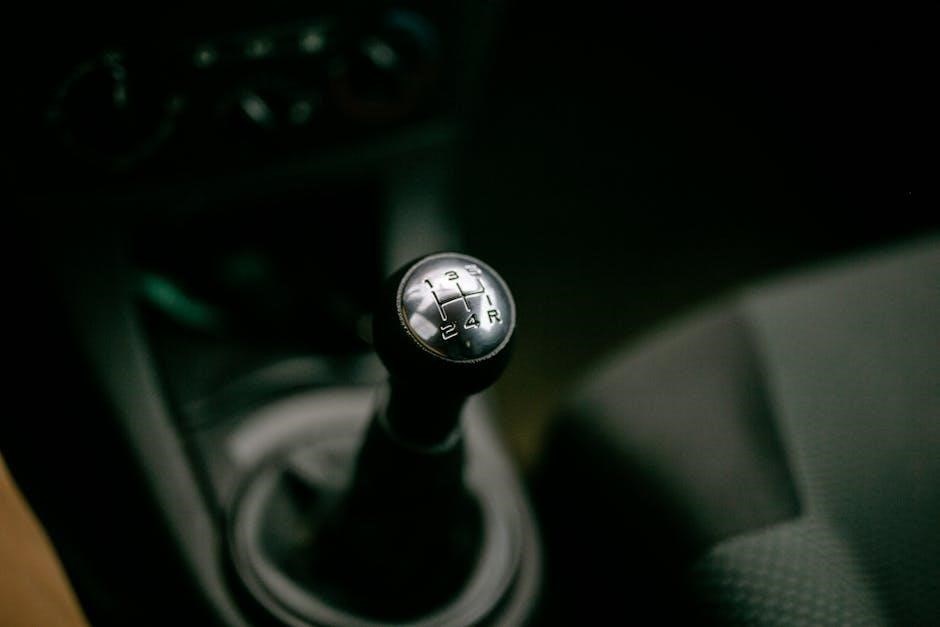
The Mazda RX-8 is a rear-wheel-drive sports car featuring a unique rotary engine. Its manual transmission system‚ available in 5-speed and 6-speed configurations‚ is designed for precise control and smooth shifting. The 5-speed is tailored for everyday driving‚ while the 6-speed is geared toward performance enthusiasts. Both transmissions utilize synchronized gears and precise engineering to deliver a responsive driving experience. Regular maintenance‚ such as fluid checks‚ is crucial to ensure the system’s longevity and reliability‚ as highlighted in owner forums and manuals. Common issues include weird noises and warning lights‚ which owners should address promptly to avoid damage. The owner’s manual provides detailed guidance on proper care and troubleshooting‚ emphasizing warnings and cautions to maintain optimal performance. Enthusiasts often praise the manual transmission for its engaging feel‚ despite the need for careful maintenance and awareness of potential problems. Overall‚ the RX-8’s manual transmission system is a key factor in its appeal‚ offering a balance of performance and driver involvement. Proper care and awareness of common issues ensure a rewarding ownership experience.
1.2 Importance of Manual Transmission in the RX-8
The manual transmission in the RX-8 is crucial for maximizing driving engagement and performance. It offers precise control over gear shifts‚ enhancing acceleration and responsiveness. Enthusiasts prefer it for the connection it provides between driver and vehicle. Regular fluid checks and maintenance are vital to prevent issues like weird noises or warning lights. Addressing these problems promptly ensures longevity. The owner’s manual emphasizes proper care and troubleshooting‚ highlighting warnings to avoid damage. This attention to maintenance allows owners to fully enjoy the manual transmission’s benefits‚ making it a key element of the RX-8’s appeal. Enthusiasts value the manual for its sporty feel and reliability when well-maintained.

Understanding the RX-8 Manual Transmission
The RX-8’s manual transmission offers a smooth‚ responsive driving experience‚ with both 5-speed and 6-speed options available‚ each designed to optimize performance and driver control.
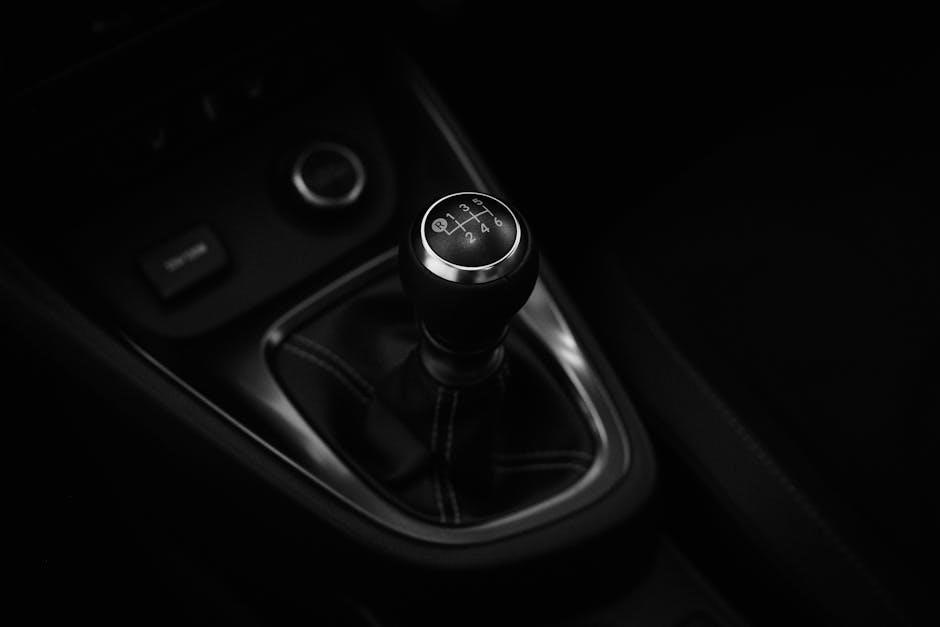
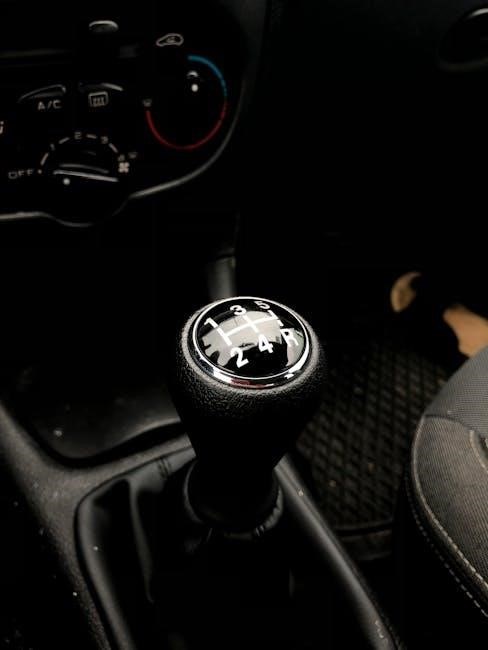
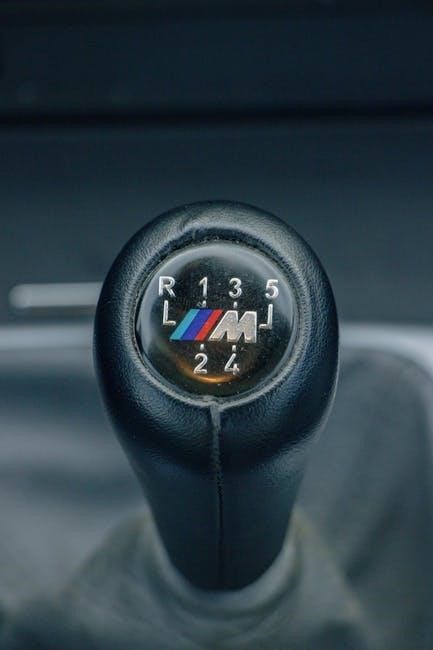
2.1 Key Features of the 5-Speed and 6-Speed Transmissions
The 5-speed transmission in the RX-8 is designed for smooth acceleration and everyday driving‚ while the 6-speed version offers closer gear ratios for improved performance and control. Both transmissions feature a robust construction to handle the rotary engine’s unique power delivery. The 6-speed includes a limited-slip differential for enhanced traction during aggressive driving. These features ensure that drivers can enjoy both comfort and excitement‚ depending on their preference and driving conditions.
2.2 How the Manual Transmission Enhances Driving Experience

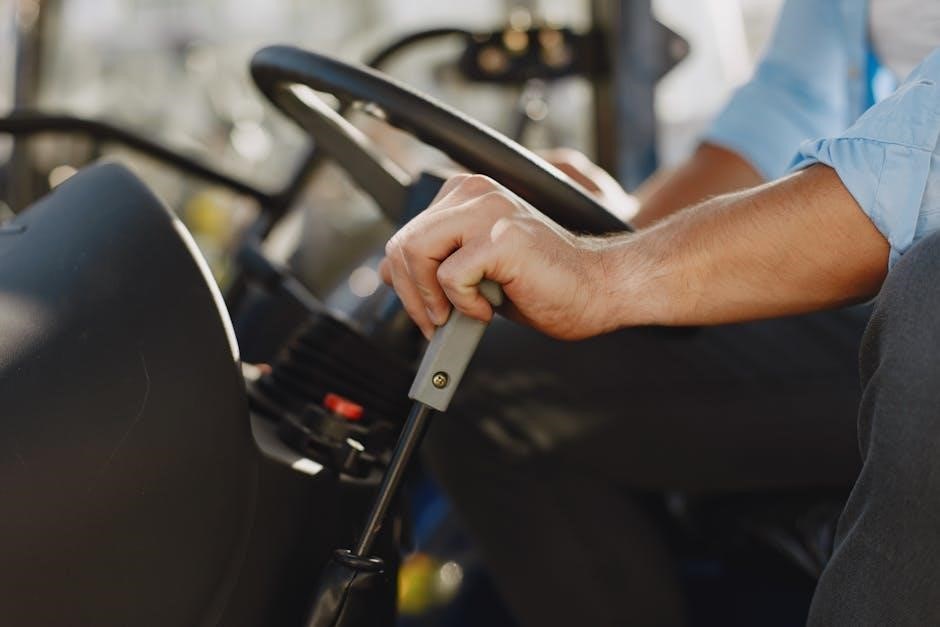
The manual transmission in the RX-8 fosters a deeper connection between driver and vehicle‚ offering precise control and engaging dynamics. It allows for better fuel efficiency and a more tactile driving experience. Drivers can optimize performance by shifting gears according to road conditions‚ making every drive feel more dynamic and rewarding. The manual transmission also enhances acceleration and responsiveness‚ making it a preferred choice for enthusiasts seeking a more immersive driving experience.
Maintenance and Care for the RX-8 Manual Transmission
Regular fluid checks and addressing common issues are vital for maintaining the RX-8’s manual transmission. Adhering to the owner’s manual ensures optimal performance and longevity.
3.1 Regular Fluid Checks and Changes
Regular fluid checks are crucial for the RX-8 manual transmission. Ensure the fluid level is within the recommended range to maintain smooth operation. Replace the fluid every 30‚000 to 60‚000 miles‚ depending on driving conditions. Use the specified Mazda ATF (Automatic Transmission Fluid) to prevent damage. Always refer to the owner’s manual for precise instructions. Proper fluid maintenance enhances transmission life and performance‚ preventing premature wear and potential failures.
3.2 Identifying and Addressing Common Transmission Issues
Common issues with the RX-8 manual transmission include unusual noises‚ gear slippage‚ or the Automatic Transaxle Warning Light. Identify these by monitoring fluid levels‚ scanning for error codes‚ and checking for worn components. Address issues promptly by replacing faulty parts or adjusting fluid levels. Refer to the owner’s manual for troubleshooting guidelines. Regular maintenance and inspections can prevent major problems. If unsure‚ consult a professional to ensure proper repairs and maintain optimal transmission performance.
Driving Tips for the RX-8 Manual Transmission
Master smooth acceleration and precise shifting techniques to enhance control. Avoid aggressive clutch riding and monitor RPMs for optimal performance. Downshift before descents for better control.

4.1 Mastering Smooth Shifting Techniques
Smoothing shifting is crucial for the RX-8’s manual transmission. Start with feathering the clutch gently while pressing the accelerator. Use the clutch pedal smoothly to avoid jerky movements.
Shift gears at the right RPM to maintain fluid acceleration. Practice in low-traffic areas to build muscle memory. Avoid abrupt acceleration‚ especially in lower gears;
Listen to engine sounds to guide your shifts. Over time‚ this becomes second nature‚ enhancing both performance and comfort. Consistent practice ensures a seamless driving experience.
4.2 Avoiding Common Mistakes That Can Damage the Transmission
Avoid riding the clutch‚ as it can wear down the clutch and pressure plate prematurely. Never shift gears abruptly‚ especially when accelerating‚ as this can strain the transmission. Ignoring unusual sounds or warning lights can lead to costly repairs. Always ensure the vehicle is fully stopped before reversing to prevent transmission stress. Proper acceleration and smooth gear transitions are key to preserving the RX-8’s manual transmission. Regular maintenance and fluid checks also play a vital role in preventing long-term damage.

Common Problems and Solutions
Strange noises and warning lights often indicate issues like low fluid levels or internal wear. Regular checks and addressing symptoms promptly can prevent major repairs and ensure smooth operation.
5.1 Weird Sounds and Their Possible Causes
Strange noises from the RX-8 manual transmission‚ such as grinding‚ whining‚ or clunking‚ often indicate issues like low fluid levels‚ worn synchronizers‚ or faulty bearings. These sounds can arise during shifting or acceleration. If ignored‚ they may lead to costly repairs. Regular fluid checks and inspections of gear components are crucial. Addressing these problems early ensures smooth operation and prevents further damage to the transmission system. Always consult a professional if unusual sounds persist or worsen over time.
5.2 Troubleshooting the Automatic Transaxle Warning Light
The Automatic Transaxle Warning Light indicates potential issues with the transmission system. Common causes include low transmission fluid levels‚ faulty sensors‚ or internal component malfunctions. First‚ check the fluid level and top it off if necessary. If the light persists‚ use a diagnostic tool to read error codes for precise identification. Addressing the issue promptly is crucial to prevent further damage. If unresolved‚ consult a professional mechanic to ensure proper repair and maintain the transmission’s health.
Modifications and Upgrades
Performance upgrades like lightweight flywheels and aftermarket clutches enhance the RX-8’s manual transmission. DIY projects‚ such as short shifter installations‚ improve shifting precision and driver engagement.
6.1 Performance Upgrades for the Manual Transmission
Upgrading the RX-8’s manual transmission with a lightweight flywheel and high-performance clutch enhances acceleration and responsiveness. Installing a short shifter reduces throw distance‚ enabling quicker gear changes. Additionally‚ aftermarket gear sets can improve torque handling and overall drivetrain efficiency. These modifications not only boost performance but also refine the driving experience‚ making the car more engaging for enthusiasts. Proper installation and alignment are crucial to maintain reliability and avoid premature wear on components.
6.2 DIY Projects to Enhance Transmission Efficiency
Enthusiasts can enhance the RX-8’s manual transmission efficiency through DIY projects like replacing the transmission fluid with high-performance synthetic oil. Installing a transmission cooler helps maintain optimal temperatures during spirited driving. Additionally‚ upgrading to a short shifter kit reduces gear change times and improves precision. Replacing the stock mounts with stiffer ones can also minimize power loss and enhance responsiveness. These modifications are cost-effective and can be done with basic tools‚ making them ideal for owners looking to maximize their car’s potential without extensive mechanical expertise.
The Role of the Owner’s Manual
The owner’s manual is a vital resource for RX-8 drivers‚ providing key information‚ warnings‚ and tips to optimize performance and prevent issues‚ ensuring a safe and enjoyable driving experience.
7.1 Key Information in the RX-8 Owner’s Manual
The RX-8 owner’s manual contains essential details about transmission operation‚ maintenance schedules‚ and troubleshooting. It outlines fluid specifications‚ shifting techniques‚ and warning signs for transmission issues. Additionally‚ the manual emphasizes proper driving practices to extend the life of the manual transmission and highlights safety precautions. By adhering to the guidelines provided‚ owners can ensure optimal performance‚ prevent potential problems‚ and maintain their vehicle’s reliability. Regular reference to the manual helps drivers make informed decisions about their car’s care.
7.2 Warnings‚ Cautions‚ and Notes to Keep in Mind
The RX-8 manual highlights critical warnings‚ such as avoiding sudden shifts and ensuring proper fluid levels. Cautions include not riding the clutch and avoiding extreme temperatures. Notes emphasize regular inspections and adherence to maintenance schedules. These guidelines are vital for preventing damage and ensuring longevity. Ignoring these advisories could lead to premature wear or costly repairs. Always prioritize the manual’s instructions to maintain your RX-8’s performance and reliability.
Comparison with Automatic Transmission
The RX-8 manual offers better fuel efficiency and driver engagement compared to its automatic counterpart‚ making it a preferred choice for driving enthusiasts seeking control and performance.
8.1 Pros and Cons of Manual vs. Automatic
The manual transmission in the RX-8 offers enhanced driver engagement‚ better fuel efficiency‚ and lower maintenance costs. However‚ it requires more skill and can be less convenient in heavy traffic. The automatic transmission provides ease of use and smooth acceleration but lacks the precision and control of the manual. Enthusiasts often prefer the manual for its driving dynamics‚ while the automatic appeals to those prioritizing comfort and convenience. Each has its trade-offs‚ catering to different driving preferences and needs.
8.2 Why Enthusiasts Prefer the Manual Transmission
Enthusiasts favor the RX-8’s manual transmission for its direct driver engagement‚ precise control‚ and immersive driving experience. The ability to manually shift gears enhances connection with the vehicle‚ offering a more dynamic and thrilling ride. Additionally‚ the manual transmission avoids issues like the automatic transaxle warning light and provides better fuel efficiency. For rotary engine fans‚ the manual transmission is often seen as essential to the car’s unique character and performance potential‚ making it a preferred choice for those who value driving purity and mechanical interaction.
The RX-8’s manual transmission offers a unique driving experience‚ combining performance and driver engagement. Regular maintenance and care ensure its longevity‚ making it a timeless enthusiast favorite.
9.1 Final Thoughts on the RX-8 Manual Transmission
The RX-8’s manual transmission stands out for its precision and driver engagement‚ offering a unique connection between the car and driver. Enthusiasts praise its responsiveness and control‚ making it a standout feature of the vehicle. Proper maintenance is key to its longevity‚ ensuring years of reliable performance. Owners are encouraged to explore modifications and upgrades to further enhance its capabilities‚ while adhering to the owner’s manual guidelines for optimal care.

9.2 Encouragement to Explore and Maintain the Vehicle
Owning an RX-8 with a manual transmission is a rewarding experience that encourages a deeper connection with the car. By staying proactive with maintenance‚ such as regular fluid checks and addressing issues promptly‚ owners can ensure the transmission’s longevity. Exploring DIY projects and modifications can further enhance performance and efficiency. Embrace the journey of learning and caring for your RX-8‚ as it offers a unique blend of power and precision that makes every drive memorable. Stay informed and enjoy the thrill of driving a well-maintained vehicle.