Embarking on a wine journey? This guide simplifies the experience, offering practical exploration over theory, building confidence with each sip and discovering nuanced flavors.
What is Wine Tasting?
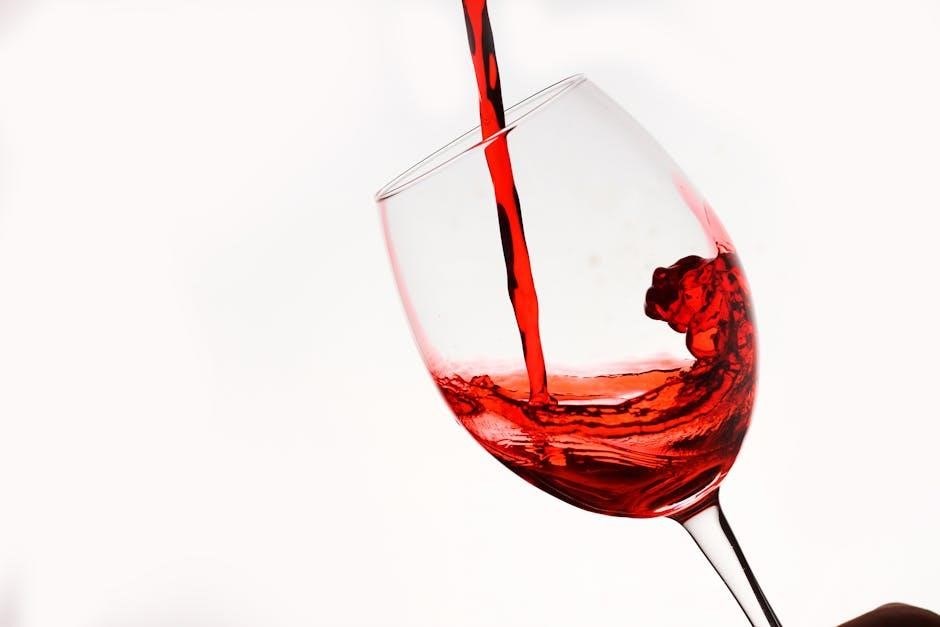
Wine tasting is a sensory experience, a deliberate process of evaluating and appreciating wine through sight, smell, and taste. It’s far more than simply drinking wine; it’s about actively engaging with the beverage to understand its complexities. This involves observing the wine’s color and clarity, identifying the diverse aromas it presents, and analyzing the flavors, texture, and overall impression on your palate.
Unlike gulping down a drink, wine tasting encourages a slower, more attentive approach. It’s about noticing how the wine feels in your mouth – is it light and crisp, or rich and velvety? Paying attention to the finish, the lingering flavors, is also crucial. Ultimately, wine tasting unlocks a deeper appreciation for the craftsmanship and artistry behind each bottle.
Why Learn to Taste Wine?
Learning to taste wine elevates the experience beyond simple consumption, allowing you to discover nuances often missed. It empowers you to confidently order wine, appreciating quality and value. Tasting practice helps identify great wines and even spot potential faults, ensuring a satisfying experience every time.
Furthermore, understanding wine enhances social occasions and food pairings. You’ll be able to articulate your preferences and engage in informed conversations. By slowing down and paying attention, you unlock a world of flavors and aromas, transforming a casual drink into a mindful exploration. It’s about maximizing enjoyment and getting the most from your investment.
Understanding the Basics
Grasping fundamental wine types – red, white, rosé, and sparkling – is key to navigating the world of wine and enjoying diverse flavors.
Wine Types: A Quick Overview
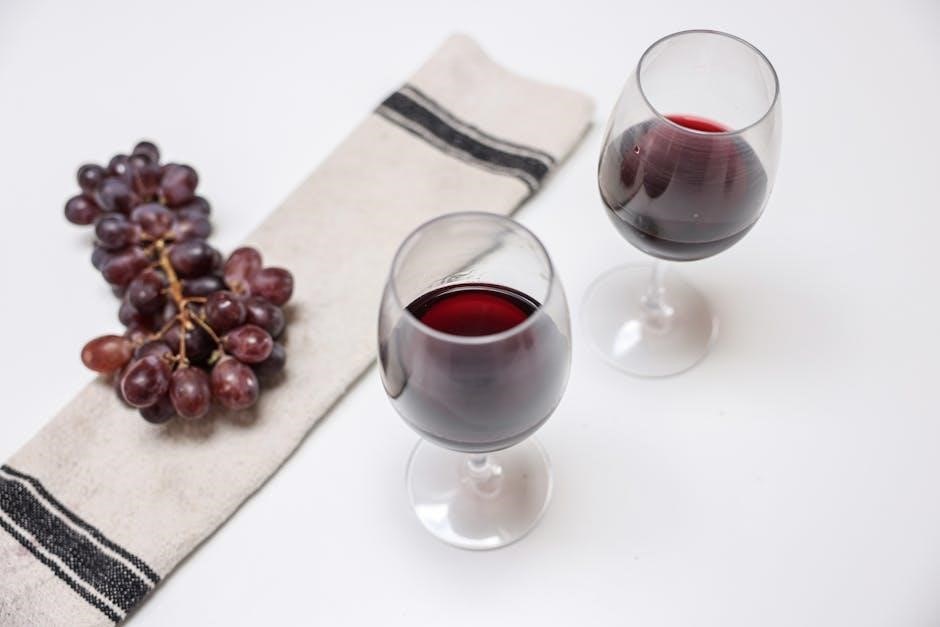
Wine’s diverse world begins with understanding its core categories. Red wines, crafted from dark-skinned grapes, offer bold flavors and tannins. White wines, made from green-skinned or pulp-removed dark grapes, are typically lighter and crisper. Rosé achieves its pink hue through brief skin contact during production, presenting a refreshing middle ground.
Sparkling wines, like Champagne and Prosecco, gain their bubbles through a secondary fermentation process, adding effervescence and celebratory flair. Beyond these, fortified wines – such as Port and Sherry – have spirits added, increasing alcohol content and complexity. Each type boasts unique characteristics, influenced by grape varietals, climate, and winemaking techniques. Exploring these differences unlocks a richer appreciation for the art of winemaking and the enjoyment of wine.
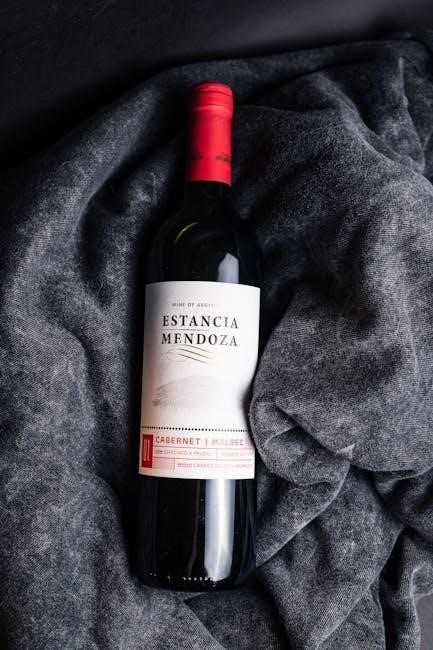
Red Wine Varieties
Red wines offer a spectrum of flavors, largely dictated by the grape varietal. Cabernet Sauvignon, known globally, delivers blackcurrant and cedar notes, often with firm tannins. Merlot provides a softer profile, showcasing red fruit and plum flavors. Pinot Noir, delicate and nuanced, presents cherry, raspberry, and earthy undertones.
Syrah/Shiraz offers peppery spice and dark fruit, while Malbec bursts with plum and blackberry. Zinfandel, often Californian, displays jammy fruit and spice. These varieties differ in body, tannin levels, and acidity, influencing food pairings. Understanding these characteristics allows beginners to navigate the red wine world with confidence, discovering preferences and expanding their palates.
White Wine Varieties
White wines present a diverse range of aromas and flavors, often influenced by climate and winemaking techniques. Chardonnay, incredibly versatile, can range from crisp and unoaked – displaying citrus and green apple – to rich and buttery with oak aging. Sauvignon Blanc is known for its herbaceousness, grapefruit, and passionfruit notes. Riesling offers floral aromas, high acidity, and flavors of apricot and petrol (with age).
Pinot Grigio/Gris is light-bodied and refreshing, with subtle pear and citrus flavors. Gewürztraminer delivers lychee and rose petal aromas. Exploring these varieties helps beginners appreciate the breadth of white wine, finding styles suited to their tastes and culinary pairings.
Rosé Wine Explained
Rosé wines, often associated with summer, are made by limiting the skin contact during red wine production. This brief contact imparts a pink hue and delicate flavors. Rosé isn’t simply a blend of red and white wine! Styles vary greatly, from dry and crisp Provençal rosés – showcasing strawberry and citrus – to sweeter, fruit-forward options.
The color intensity doesn’t necessarily indicate sweetness; a darker pink doesn’t always mean a sweeter wine. Rosé is incredibly versatile with food, pairing well with salads, seafood, and spicy cuisine. It’s a fantastic entry point for those new to wine exploration.
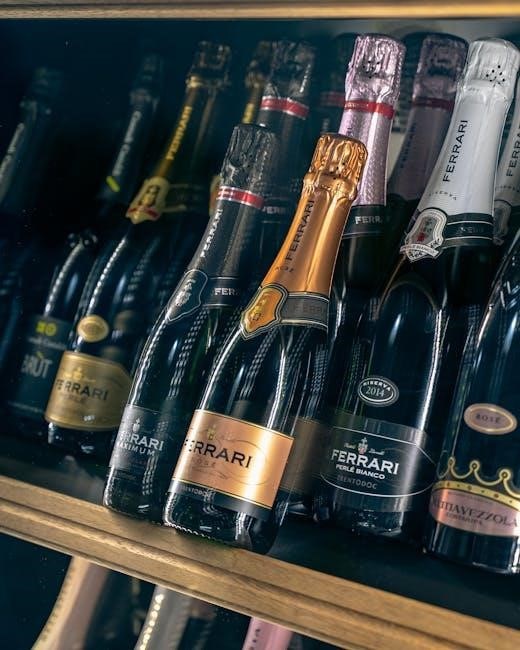
Sparkling Wine & Champagne
Sparkling wines, celebrated for their bubbles, range from affordable Prosecco to prestigious Champagne. Champagne, specifically, hails from the Champagne region of France and undergoes a secondary fermentation in the bottle, creating those signature fine bubbles. Prosecco, from Italy, utilizes a different method, resulting in larger, fruitier bubbles.
Other sparkling wines include Cava (Spain) and Crémant (France). These wines are perfect for celebrations or as an aperitif. When serving, chill thoroughly and pour slowly to preserve the effervescence. Enjoy with appetizers, desserts, or even fried foods – the bubbles cut through richness!
The Five S’s of Wine Tasting
Master the art of tasting! The five S’s – See, Swirl, Sniff, Sip, and Savor – unlock complexity, clarity, and varietal character in every glass.
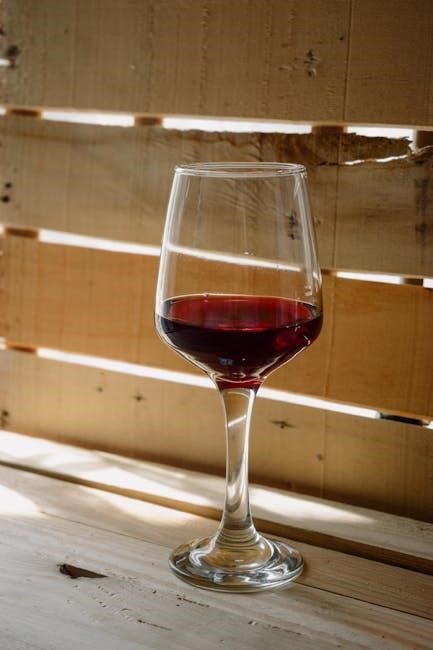
See: Visual Inspection
Begin with sight! Hold your glass against a white background and observe the wine’s color. Is it pale, deep, or somewhere in between? Color hints at age and grape variety. Clarity is also key – is the wine brilliant and clear, or cloudy? Legs, or tears, form on the glass sides after swirling; they indicate alcohol content and sugar levels, though aren’t definitive quality indicators.
A youthful red wine often displays vibrant ruby or purple hues, while older reds lean towards brick or garnet. White wines darken with age, shifting from pale straw to golden amber. Visual inspection is the first step, providing initial clues about the wine’s potential character before you even take a sniff or a sip. It’s a foundational element of the tasting process.
Swirl: Aeration and Release of Aromas
Next, gently swirl the wine in your glass. This crucial step introduces oxygen, a process called aeration. Aeration “opens up” the wine, releasing its complex aromas that would otherwise remain hidden. Swirling increases the surface area, allowing volatile compounds to evaporate and rise to the nose. Don’t be afraid to swirl – a little practice prevents spills!
Observe how the wine clings to the glass – these are the “legs” or “tears,” indicating alcohol and sugar content. Swirling isn’t about judging quality, but about preparing the wine for a thorough aromatic assessment. It’s a vital step in unlocking the wine’s full potential and enhancing your tasting experience.
Sniff: Identifying Aromas
Now, bring your nose to the glass and inhale deeply. This is where wine tasting becomes truly engaging! Don’t just sniff once; take several short sniffs to identify the various aromas. Initially, you might detect primary aromas – those derived from the grape itself, like fruits and flowers.
With swirling, secondary aromas emerge from fermentation, such as yeast or bread. More complex wines reveal tertiary aromas developed during aging, like spice, earth, or vanilla. Don’t worry about being “right”; simply note what you smell; Building a personal aroma vocabulary is key to appreciating wine’s nuances.
Sip: Palate Assessment
Take a small sip and let the wine coat your entire mouth. Don’t gulp! Allow it to linger, noticing the initial flavors and how they evolve. Pay attention to the wine’s texture – is it light-bodied, medium-bodied, or full-bodied? Consider the acidity; does it make your mouth water?
Tannins, found primarily in red wines, create a drying sensation. Assess the sweetness level, and finally, the alcohol’s contribution to the overall impression. Is the wine balanced, or does one element dominate? These sensations collectively form your palate assessment.
Savor: The Finish and Overall Impression
After swallowing (or spitting, if tasting extensively), focus on the “finish.” How long do the flavors linger? A long finish is generally indicative of a higher-quality wine. Note any changes in flavor during the finish – do new notes emerge?
Consider the overall impression: was the wine balanced and harmonious? Did it express its varietal character? Did you enjoy it? There’s no right or wrong answer – personal preference is key! Reflect on the experience and jot down your thoughts. This final step solidifies your tasting assessment.
Decoding Wine Flavors
Unlocking wine’s complexity involves identifying aromas and flavors, ranging from fruits and spices to earthy tones – practice helps discern these nuances!
Common Wine Aromas & Flavors
Identifying aromas is key to appreciating wine. Beginners often detect fruit flavors – think cherry, raspberry in reds, or citrus, apple in whites. Beyond fruit, explore spice notes like pepper, clove, or vanilla, often imparted by oak aging. Herbal hints, such as mint or eucalyptus, add complexity.
Earthy aromas – mushroom, forest floor – suggest a wine’s terroir. Mineral tones, like flint or wet stone, indicate specific geological influences. Don’t be afraid to name what you smell, even if it seems unusual! The more you practice, the more refined your palate becomes, allowing you to discern subtle nuances and appreciate the wine’s full character. Remember, tasting is subjective and personal.
Fruit Flavors in Wine
Fruit is often the most recognizable element in wine. Red wines frequently showcase flavors of red fruits like cherry, raspberry, and plum, while darker fruits such as blackberry and blackcurrant indicate bolder styles. White wines present a spectrum from citrus fruits – lemon, grapefruit – to orchard fruits like apple, pear, and even tropical notes like pineapple or mango.
The intensity and type of fruit flavor depend on the grape variety, climate, and winemaking techniques. Younger wines tend to exhibit brighter, fresher fruit, while aged wines develop more complex, jammy, or dried fruit characteristics. Identifying these fruit nuances is a crucial step in understanding and enjoying wine.
Spice and Herbal Notes
Beyond fruit, wines often display intriguing spice and herbal aromas. These can range from subtle hints of black pepper, cinnamon, or clove in red wines, often linked to oak aging, to more pronounced herbal notes like mint, eucalyptus, or rosemary, frequently found in certain grape varieties like Cabernet Sauvignon or Syrah.
White wines can exhibit spice notes like ginger or nutmeg, alongside herbal qualities such as grass, thyme, or chamomile. These complexities add layers to the wine’s profile, enhancing its overall character. Recognizing these nuances elevates the tasting experience, revealing the wine’s depth and origin.
Earthy and Mineral Tones
Many wines exhibit fascinating earthy and mineral characteristics, adding complexity beyond fruit and spice. These aromas can evoke sensations of forest floor, mushroom, wet stone, or flint, often linked to the vineyard’s terroir – the unique combination of soil, climate, and environment.
These notes are particularly common in wines from regions with distinctive soil types, like the Loire Valley in France (known for its flinty Sauvignon Blanc) or Burgundy (often displaying earthy Pinot Noir); Identifying these subtle nuances demonstrates a refined palate and a deeper appreciation for the wine’s origin and character.
Serving and Handling Wine
Proper service elevates the experience! Choosing the right glass, controlling temperature, and mastering opening/pouring techniques are key to fully enjoying your wine.
Wine Glass Selection
Choosing the correct glassware significantly impacts your wine tasting experience. Different shapes direct wine to different parts of your palate, enhancing specific aromas and flavors. Generally, larger bowls are preferred for red wines, allowing for aeration and showcasing complex bouquets.
Bordeaux glasses, with their tall shape, suit full-bodied reds, while Burgundy glasses, wider and rounder, are ideal for more delicate varieties. White wines benefit from smaller bowls that preserve their cooler temperatures and focus aromas. Flute glasses are classic for sparkling wines, maintaining effervescence.
Ultimately, a universal glass can be a great starting point for beginners, offering versatility. However, investing in a few specialized glasses will undoubtedly elevate your appreciation and enjoyment of wine!
Proper Wine Temperature
Serving wine at the correct temperature is crucial for unlocking its full potential. Too warm, and alcohol dominates, masking delicate flavors; too cold, and aromas are suppressed. Generally, lighter-bodied white wines and sparkling wines thrive between 45-50°F (7-10°C).
Medium-bodied whites are best enjoyed at 50-55°F (10-13°C), while fuller-bodied whites can handle 55-60°F (13-16°C). Red wines typically range from 60-68°F (16-20°C), with lighter-bodied reds slightly cooler than bolder varieties.
Don’t rely solely on refrigeration; a wine cooler or simply removing the bottle from the fridge 30 minutes before serving can achieve optimal temperatures. A quick chill with ice water is also effective for whites!
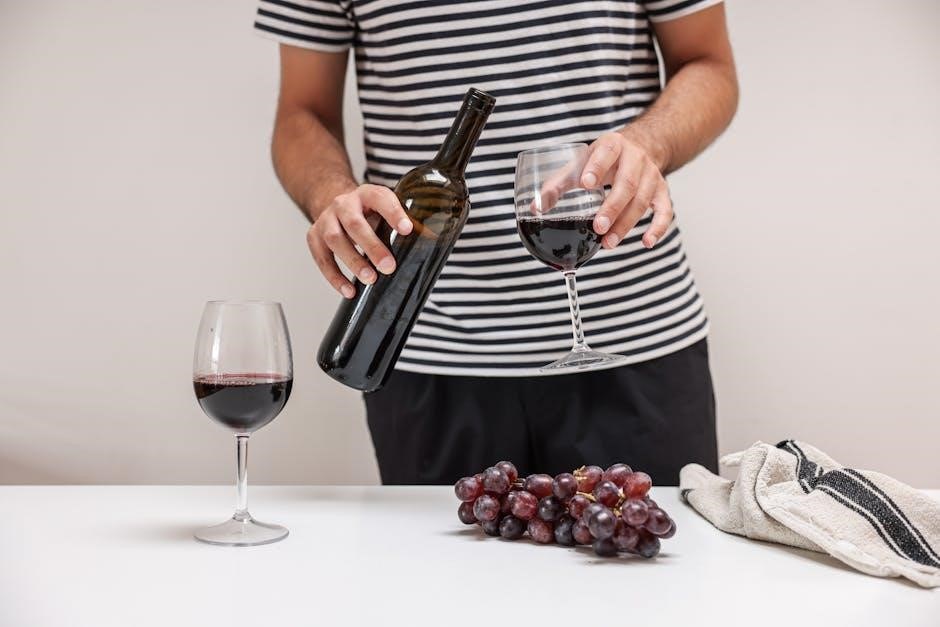
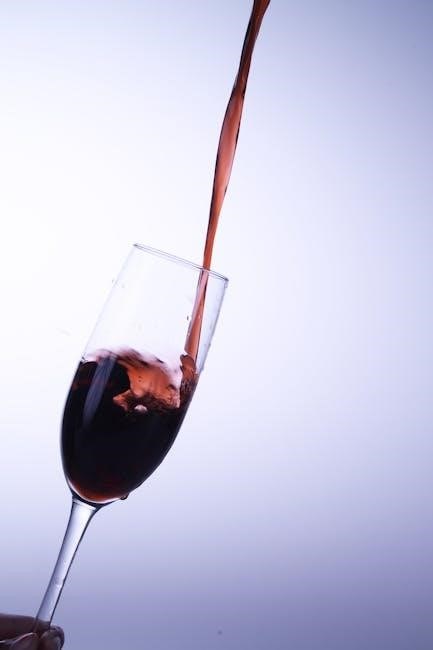
Opening and Pouring Wine
Mastering the art of opening and pouring enhances the wine experience. For cork-sealed bottles, use a waiter’s corkscrew, inserting it straight and avoiding breakage. Gently remove the cork, listening for a satisfying ‘pop’ – though a quiet extraction indicates age. Wipe the bottle mouth before pouring.
When pouring, aim for about a 5-6 ounce pour, filling the glass no more than one-third full. This allows space for swirling, releasing aromas. Avoid pouring directly onto the glass rim to prevent drips.
Screw-cap wines are simple – just twist and enjoy! Remember to reseal both types to preserve freshness if not finishing the bottle.
Storing Wine Correctly
Proper storage preserves wine quality. Keep bottles in a cool, dark place, ideally around 55°F, with humidity to prevent corks from drying out and oxidizing.
Short-Term Wine Storage
For wines you plan to enjoy within a few weeks, maintaining a consistent, cool temperature is key. A dark pantry or basement corner works well, avoiding direct sunlight and significant temperature fluctuations. Ideally, aim for temperatures between 60-70°F (15-21°C);
Storing bottles on their side keeps the cork moist, preventing it from drying out and allowing air to enter. This is particularly important for wines sealed with natural corks. Avoid storing wine near strong odors, as they can permeate the cork and affect the wine’s flavor. A simple wine rack or even a sturdy box can provide adequate support and organization for short-term storage, ensuring your wines remain enjoyable until you’re ready to savor them.
Long-Term Wine Storage
If you intend to age wines for years, a dedicated wine cellar or storage unit is crucial. Maintaining a consistent temperature of 55-65°F (13-18°C) is paramount, alongside humidity levels between 60-80% to prevent corks from drying.
Darkness is essential, as light can degrade wine over time. Vibration should also be minimized, as it can disrupt the aging process. Consider using redwood or cedar racks, as they help regulate humidity and provide gentle support. Proper long-term storage allows wines to develop complex flavors and aromas, enhancing their value and enjoyment over decades.
Wine and Food Pairing
Unlock delightful combinations! Basic principles guide pairings – consider wine’s acidity, sweetness, and tannins alongside food’s flavors and textures for harmony.
Basic Pairing Principles
Mastering food and wine pairing begins with understanding balance. Consider the weight and intensity of both elements; light-bodied wines suit delicate dishes, while bolder wines complement richer flavors; Acidity in wine cuts through fat, creating a refreshing contrast. Sweetness in wine balances spice, and tannins bind to proteins, softening both the wine and the meat.
Think about complementary or contrasting flavors. Complementary pairings feature similar flavor profiles – a fruity wine with a fruit-based dessert. Contrasting pairings offer exciting tension – a spicy dish with an off-dry Riesling. Ultimately, experimentation is key; these are guidelines, not rigid rules. Don’t be afraid to explore and discover your own perfect matches!
Red Wine Food Pairings
Red wines, with their tannins and varying body, offer diverse pairing options. Lighter-bodied reds like Pinot Noir beautifully complement salmon, mushrooms, and roasted chicken. Medium-bodied wines, such as Merlot, pair well with roasted lamb, pasta with red sauce, and grilled vegetables.
For bolder reds like Cabernet Sauvignon and Syrah, consider richer dishes like steak, hearty stews, and aged cheeses. The tannins in these wines cut through the fat, creating a harmonious balance. Remember, spicy dishes can clash with high-tannin reds, so opt for a fruitier style instead. Don’t hesitate to experiment – a bold red can even elevate a dark chocolate dessert!
White Wine Food Pairings
White wines, known for their acidity and refreshing qualities, shine with lighter fare. Crisp, dry whites like Sauvignon Blanc are fantastic with salads, seafood, and goat cheese. Chardonnay, depending on its oakiness, can range from pairing with shellfish to richer dishes like lobster or creamy pasta.
Aromatic whites like Riesling complement spicy Asian cuisine and fruit-based desserts. Consider the wine’s sweetness level; a dry Riesling works well with savory dishes, while a sweeter version enhances desserts. Generally, match the wine’s body with the dish’s weight – light-bodied wines for light meals, and fuller-bodied wines for richer ones.
Rosé and Sparkling Wine Pairings
Rosé wines, incredibly versatile, bridge the gap between red and white pairings. Dry rosés excel with Mediterranean cuisine, grilled fish, and charcuterie. Their bright acidity cuts through richness, making them ideal with salads and light pasta dishes. Sweeter rosés complement fruit desserts and spicy foods.
Sparkling wines, like Champagne and Prosecco, are celebratory and food-friendly. Their bubbles cleanse the palate, pairing beautifully with fried foods, appetizers, and even sushi. Brut styles (dry) work well with salty snacks, while sweeter varieties complement fruit tarts and pastries. Don’t underestimate sparkling wine with brunch!
Identifying Wine Faults
Recognizing flaws enhances your tasting skills. Common faults include cork taint (musty smell), oxidation (brownish color, sherry-like aroma), and volatile acidity (vinegar-like scent).
Cork Taint
Cork taint, a frustrating flaw, stems from a chemical compound called TCA (2,4,6-trichloroanisole) present in the cork. It doesn’t mean the wine itself is bad, but rather the cork is compromised. Identifying cork taint involves a distinct aroma – often described as wet cardboard, damp basement, or a musty, moldy smell. This aroma overwhelms the wine’s intended fruit and floral notes, rendering it unpleasant to drink.
It’s important to note that not all wines with cork taint are immediately obvious. Sometimes, the taint is subtle, simply dulling the wine’s vibrancy. If you suspect cork taint, don’t hesitate to send the wine back if you’re at a restaurant. It’s a legitimate reason for a replacement, as it significantly impacts the wine’s quality and enjoyment.
Oxidation
Oxidation occurs when wine is exposed to too much oxygen, altering its flavors and aromas. While a small amount of oxygen can enhance complexity during aging, excessive exposure leads to undesirable changes. Identifying oxidation involves noticing a brownish hue in red wines and a deepening gold color in white wines, beyond their typical shades. Aromas shift from fresh fruit to nutty, sherry-like, or even vinegary notes.
The wine’s vibrancy diminishes, and flavors become flat and dull. Improper storage – leaving a bottle open for too long, or using a faulty cork – are common causes. Once oxidized, a wine cannot be reversed; it’s a sign of deterioration. Proper sealing and storage are crucial to prevent this fault.
Volatile Acidity
Volatile acidity (VA) refers to the presence of acetic acid in wine, often resulting from unwanted bacterial activity. While a small amount is normal, excessive VA creates unpleasant aromas reminiscent of vinegar, nail polish remover, or even glue. Detecting VA involves a sharp, pungent smell that overrides the wine’s fruit characteristics. It’s often more noticeable on the nose than the palate initially.
Poor sanitation in the winery, or insufficient sulfur dioxide levels, can contribute to VA development. A wine with high VA will lack freshness and balance, appearing flat and sour. It’s considered a significant fault, rendering the wine undrinkable for many palates, and indicates a winemaking issue.
Resources for Further Learning
Expand your knowledge! Explore comprehensive wine books and reputable online resources to deepen your understanding and confidently navigate the world of wine.
Wine Books for Beginners
Delve deeper with insightful literature! Several excellent books cater specifically to those starting their wine exploration. Look for titles that prioritize understanding over complex jargon, focusing on approachable explanations of grape varieties, regions, and tasting techniques;
Consider books that guide you through the “Five S’s” – See, Swirl, Sniff, Sip, and Savor – providing practical exercises to enhance your sensory evaluation skills. Many beginner-friendly books also offer food pairing suggestions, helping you unlock the synergy between wine and cuisine.
Don’t hesitate to browse reviews and sample chapters before purchasing to find a style that resonates with your learning preferences. A well-chosen book can be an invaluable companion on your wine journey, providing a solid foundation for continued discovery and enjoyment.
Online Wine Resources
The digital world offers a wealth of wine knowledge! Numerous websites and online platforms provide accessible information for beginners. Explore sites offering introductory courses, glossaries of wine terms, and articles on grape varieties and wine regions.
Many resources feature interactive maps, allowing you to virtually explore vineyards and learn about terroir. Look for platforms with tasting guides and food pairing suggestions, enhancing your practical understanding. Online wine communities and forums provide opportunities to connect with fellow enthusiasts and ask questions.
Remember to evaluate the credibility of sources and cross-reference information. Reputable wine publications and educational institutions often offer valuable online content, fostering a deeper appreciation for the world of wine.